Tuesday 25 August 2015

MID AUTUMN FESTIVAL.......YEAH!!! MOON CAKES.


This year's mid autumn festival falls on the 27th September.....I caught the moon cakes fever with the many post of moon cakes by my Facebook's friends.

In the past, I had only made snow skin and jelly moon cakes even though I had this wooden mould for so many years. So, I wanted to try baking traditional moon cakes this time.


Googled and watched some videos on Youtube.  Eventually, I bought a set of mini plastic moulds with 4 designs which are more user friendly.


Assorted flavours mini baked mooncakes, gift for my friend in Sabah.


Made the piggy moon cakes too....and they are super adorable.  My niece then suggested other animals.......hence the "birth" of cat, dog, bunny, mouse and sheep too.


Look what my 12 year old niece made yesterday.....so creative!!!


Last but not least, Shanghai moon cakes.....recipe adapted from my mom's friend who is a dim sum chef.


What will be next? Snow skin, jelly or Teochew spiral yam mooncakes???


Friday 24 July 2015

COTTON CAKE


Picture courtesy of May Lau.

Tempting tempting tempting!!!!

When I first saw the pictures posted in FB, I knew that I have bake this wonderful cake.....ohhh nooooo the recipe was written in Mandarin....so I google translated it!!!

My kids devoured the whole cake in less than half hour in one sitting.

Thanks May Lau for the wonderful recipe.


My son cutting the cake 

Here's the recipe as best I can translate to English

Cotton Cake (棉花蛋糕)
Recipe from May Lau.

Ingrdients:-

60 g butter
80 g all purpose flour/cake flour
1 whole egg (grade B)
5 egg yolks (grade B)
80 ml fresh milk
1 teaspoon lemon juice 

5 egg white (grade B)
95 g caster sugar

Sufficint amount of jam of your choice.

Method:-

Line the bottom of a 8" x 8" baking pan. Grease the pan.

Preheat oven to 150 degree C. Place a tray (must be bigger than your baking pan) with 1/3 full of water in the oven.

Melt the butter in a medium bowl. Remove from heat and pour in sifted flour.
Mix till combine with a spoon or whisk.
Add in the whole egg and mix well. Initially the batter will fall apart. Continue to mix till combine.
Add in egg yolks one at a time and mix well.
Then pour in the milk, mix well
Finally, add in the lemon juice. 
Set aside the batter.

In a clean bowl, beat the egg whites till frothy, then add the caster sugar gradually. Beat till soft peak form.

Gently fold the meringue into the egg yolk mixture. Pour the mixture into the baking pan and bake in water bath for 1 hour or till the cake is cooked.

Remove from the oven and immediately turn the cake on a wire rack. Remove the paper you used to line the cake. Cool completely.

Trim off the edges of the cake. Cut the cake into half, spread some jam and place the other half of cake on top, then cut into an inch slices.

Happy baking.


Sunday 28 June 2015

SOUR CREAM CHOCOLATE POUND CAKE


30 minutes into baking......hmmmmm...........the aroma of  chocolate and butter filled the house .....

Last week I baked Sour Cream Pound Cake and my Princezz loved to texture and taste of the cake however, Mr. Hubby prefers my Basic Butter Cake.

This time, I baked the Deep Chocolate Sour Cream Pound cake. I followed the recipe from Kak Rima of Bisous A Toi here, Now will have to wait for 40 minutes for the cake to cook..............

The cake sank in the middle after I removed it from the oven....could it be because a cup of cocoa powder was used to replace a cup of flour???  It was nice and flat while in the oven.  Maybe that's the reason the original recipe used a bundt cake pan.... Nevertheless, the cake is delicious!! 

I was too impatient to wait for it too cool down completely before cutting.

VERDICT: Moist and crumbly.  Yummielious!!

Saturday 20 June 2015

FATHER'S DAY BAKE

Hubby has been asking for butter cake for the past few weeks, however I did not bake for him as I wanted to try baking Sour Cream Pound Cake and I found this Deep Chocolate Sour Cream Pound Cake by Kak Rima.  Love her bundt pan but could not find one at my local store.

I love browsing Kak Rima's blog - all those yummy pics of her bakes and especially her lovely Princess Sonia.  Really glad that she no longer privatise her blog.....miss her so much.

Hubby couldn't wait to cut the cake tomorrow....
So, I went to get myself a tub of Paul's Sour Light Cream. I omitted the chocolate as hubby prefers plain cake.  The cake turned out perfect!!!  I will give the chocolate cake a go as I still have 1/2 a tub of sour cream.

Sour Cream Pound Cake (adapted from Kak Rima)

Ingredients: 
362 g all purpose flour
2 1/4 tsp baking powder
340 g salted butter
4 large eggs
400 g castor sugar
250 g sour cream
3 tsp vanilla essence.

Method:

  1. Preheat oven @ 150 C.
  2. Greased the inside of a 10" bundt pan and lightly dust it with flour. (I used a square 8" x 8" square pan + a disposable loaf pan.  I would recommend a 9" x  9" pan).
  3. Sift all the dry ingredients into a medium bowl. Set aside.
  4. Cream butter and sugar till pale and fluffy.
  5. Add in eggs one at a time. Beating well after each addition and scraping down the side of the bowl.
  6. Add in vanilla essence and mix well.
  7. Fold in the dry ingredients in 2 additions alternating with sour cream. Mix till just combine.
  8. Pour the batter into the prepared pan, smooth the top. 
  9. Bake for approximately 60-65 minutes or until a cake tester inserted into the center of the cake comes out clean.
  10. Remove the cake from the oven and let cool on a wire rack till you can handle the pan with bare hands. Then invert the cake onto the rack and let cool completely.

Happy Fathers' Day!!


Monday 27 April 2015

BENJI ROLL

Thanks to Citarasawan for sharing the recipe.
super yummy and soft - just like the the ones I tasted more than 20 years ago when visiting a relative's house during CNY......however she was reluctant to share the recipe with us. This recipe yields 2 rolls and uses lots of egg yolks.....so I halved it.
~~~~~~~~~~~~~~~~~~~~~~~~~~~~~~~~~~~~~~~~~~~~~~~~~~

Salted Caramel Dark Chocolate Tart

This salted caramel dark chocolate tart is so addictive......I alone ate 1/3 and still craving for it.....
Superlicious with a scoop of vanilla ice-cream topped with raspberry sauce!! and a slice of kiwi fruit.
**************************************************


A birthday cake for my nephew Mihail inspired by Maisie Parrish.

Butter cake coated with buttercream and fondant

The dessert table

Thursday 19 March 2015

CAPPUCINO MARBLE BUTTER CAKE

Hmmmm.................the smell of cappucina and butter cake in the oven.....another 5 minutes and it'll be out of the oven.  Can't wait to sink my teeth into it!


Here it is....... fresh from the oven.............. 
I had adapted the recipe from my usual butter cake recipe.  Just mix a few tablespoon full of the batter with some cappucino paste, mix well.  Place half of the remaining plain batter into the cake pan and drop the cappucino batter covering the four corners and also the centre (keep approximately 1 tablespoon cappucino batter).  Pour the remaining half of the plain batter and spread evenly with a spatula. Finally drop more of the cappucino batter and swirl with a skewer to get the marble effect.


Wonderful butter cake with a slight tinge of cappucino flavor. Thumbs up by my Princezz and hubby.
Fun Cakez Basic Butter Cake Recipe

Ingredients:-
250 g all purpose flour*
1 tsp baking powder*
* Sieve together

250 g butter (soften)
200 g sugar
1 tsp vanilla essence
4 eggs
4 tbsp milk

Method:-
Preheat oven to 160 degree C.
Cream butter and sugar till light and fluffy.
Add eggs one at a time.  Beat well after each addition.
Add vanilla essence and mix well.
Fold in 1/3 of the dry ingredients followed by 1/2 of the milk. Fold in another 1/3 of the flour then the remaining milk. Lastly, fold in the remaining flour.
Pour batter into greased 7" square tin and bake at 160 degree C for approximately 40 - 50 mins or until skewer inserted in the centre of the cake comes out clean.
Cool cake in tin on wire rack until can be handed with bare hands, then invert cake onto rack and remove pan.  Cool completely before cutting.

Happy Baking!!


Wednesday 11 March 2015

FUN CAKEZ FOR YOUR SPECIAL CELEBRATIONS

Joyce is a huge fan of "Stitch".  For her birthday she ordered 2 cakes.


This is Kailey's 1st birthday cake.
Princess Kailey's 2nd birthday cake
Chocolate~licious brownies.
Gravity defying cake for 9 year old Benji.....who loves chocolate cakes. 
A pot of gold for Jefry.

MADELEINES (FRENCH BUTTER CAKES)


A little information on these little cakes called Madeleines.

Madeleines ~That little French butter cake that most (non-French) people think of more as a cookie. They have a classy, literary reputation, having served as Proust's muse in his famous Remembrance of Things Past. Like most muses, however, madeleines appear to be simple but actually require a fair amount of patience and careful following of instructions. In the end, though, you are rewarded with a truly unique little cake, browned and crispy on the outside and spongy and soft on the inside. A perfect accompaniment to your afternoon cup of tea.

The original recipe is from allrecipes.com.

Ingredients:
2 eggs
1 tsp vanilla essence
60 g sugar
60 g all purpose flour
55 g saltled butter
1 tsp strawberry essence
some pink food coloring

Method:
Melt butter and let cool to room temperature.
In a mixing bowl, beat eggs and vanilla essence at high speed until light.
Gradually add sugar and continue beating at high speed until mixture is thick and pale and ribbons from in a bowl when beaters are lifted.
Sift 1/3 flour into the egg mixture, gently folding after each addition.
Quickly but gently fold butter into batter.
Divide the batter into two portion. Flavor one portion with strawberry essence and add a few drops of pink food coloring. 
Pour the batter into two separate disposable piping bags and refrigerate overnight.
The following morning: Preheat oven to 190 degrees C.
Butter and flour madeleine moulds
Fill the moulds with the batter.
Bake 14 - 17 minutes or until cakes are golden and the tips spring back when gently pressed with finger tips.
Let cool on wire rack before inverting the cakes onto a rack.

Sunday 8 March 2015

CAKES CAKES CAKES CAKES...........


Hummingbird cake
Hummingbird cake...............I was in love with this cake when I first saw Kak Yani of The Kitchen Guardian posted the pic in her FB page.  So, it was decided that this is going to be my hubby's birthday cake.  Whew, was it difficult to get the banana (I was looking for "berangan") as my usual supplier is close for the CNY holidays.

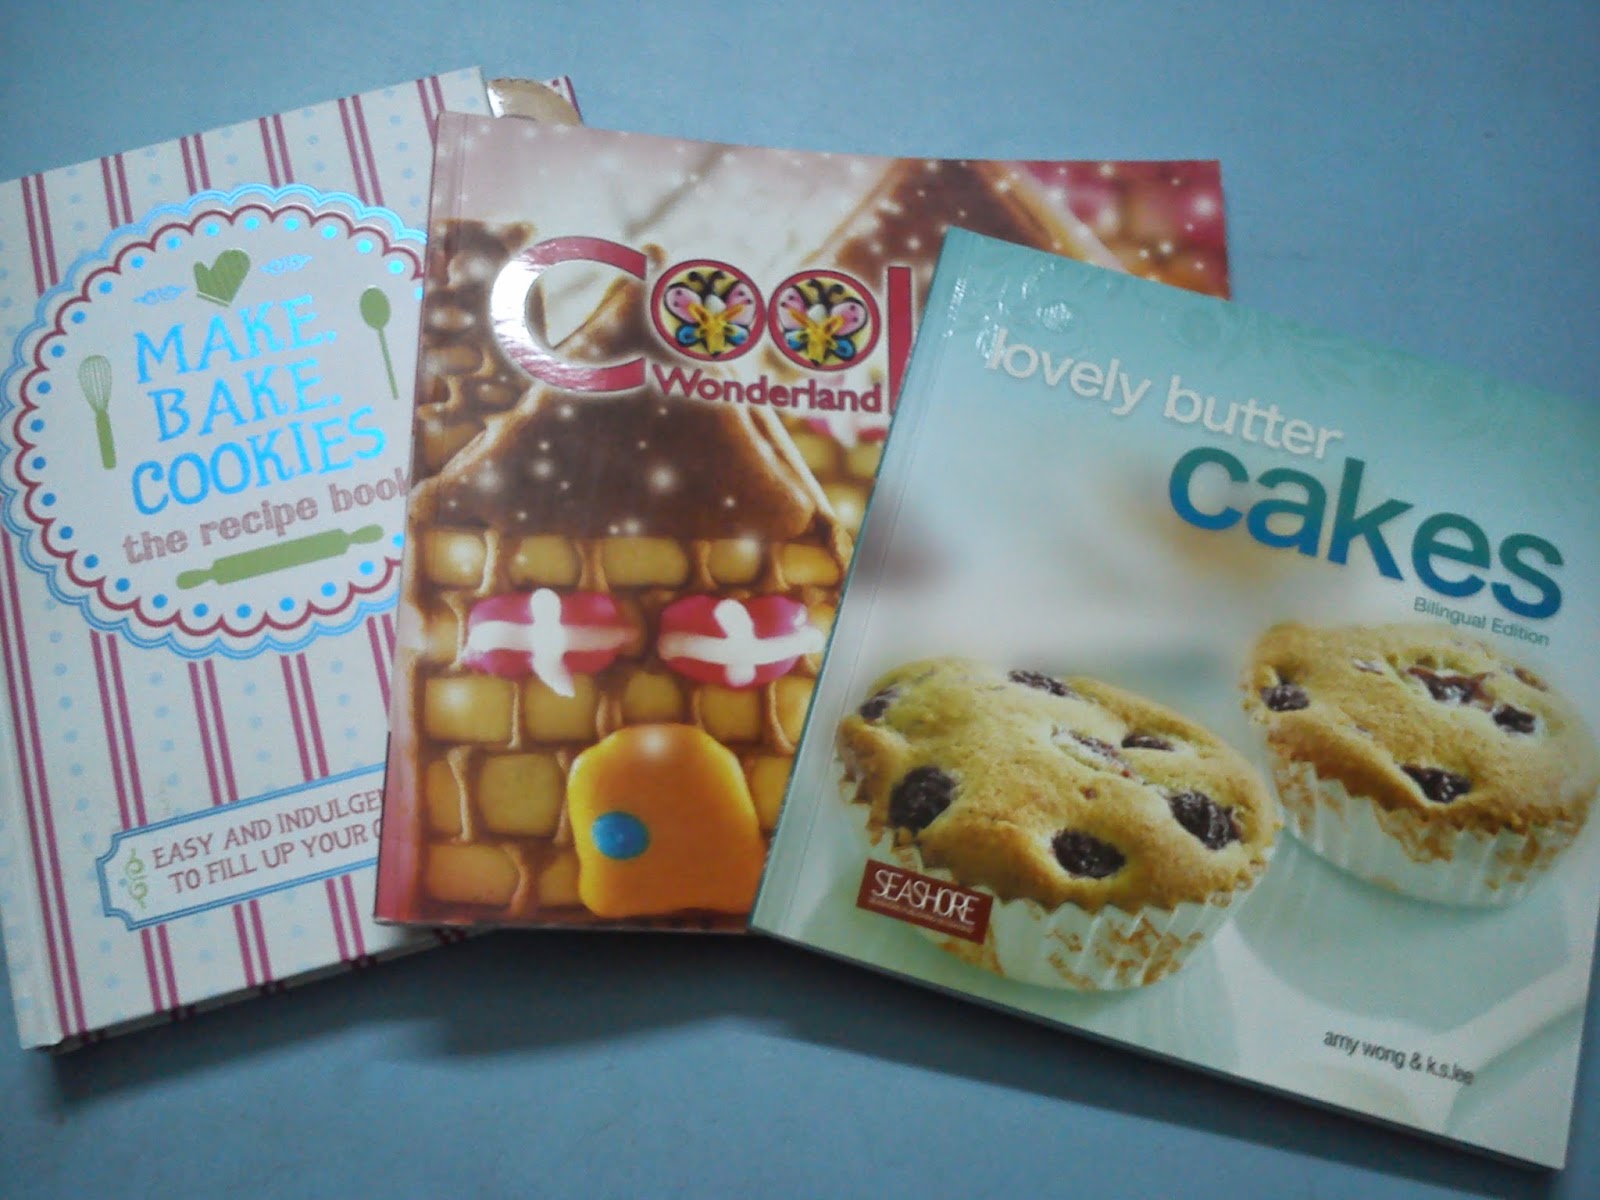
The recipe was adapted from the book "Lovely Butter Cakes" which was a present from my son's girlfriend.

The dried pineapple flowers were super easy to make. Mine were burnt as I was too impatient and dried them with temperature of 160 degree C!!

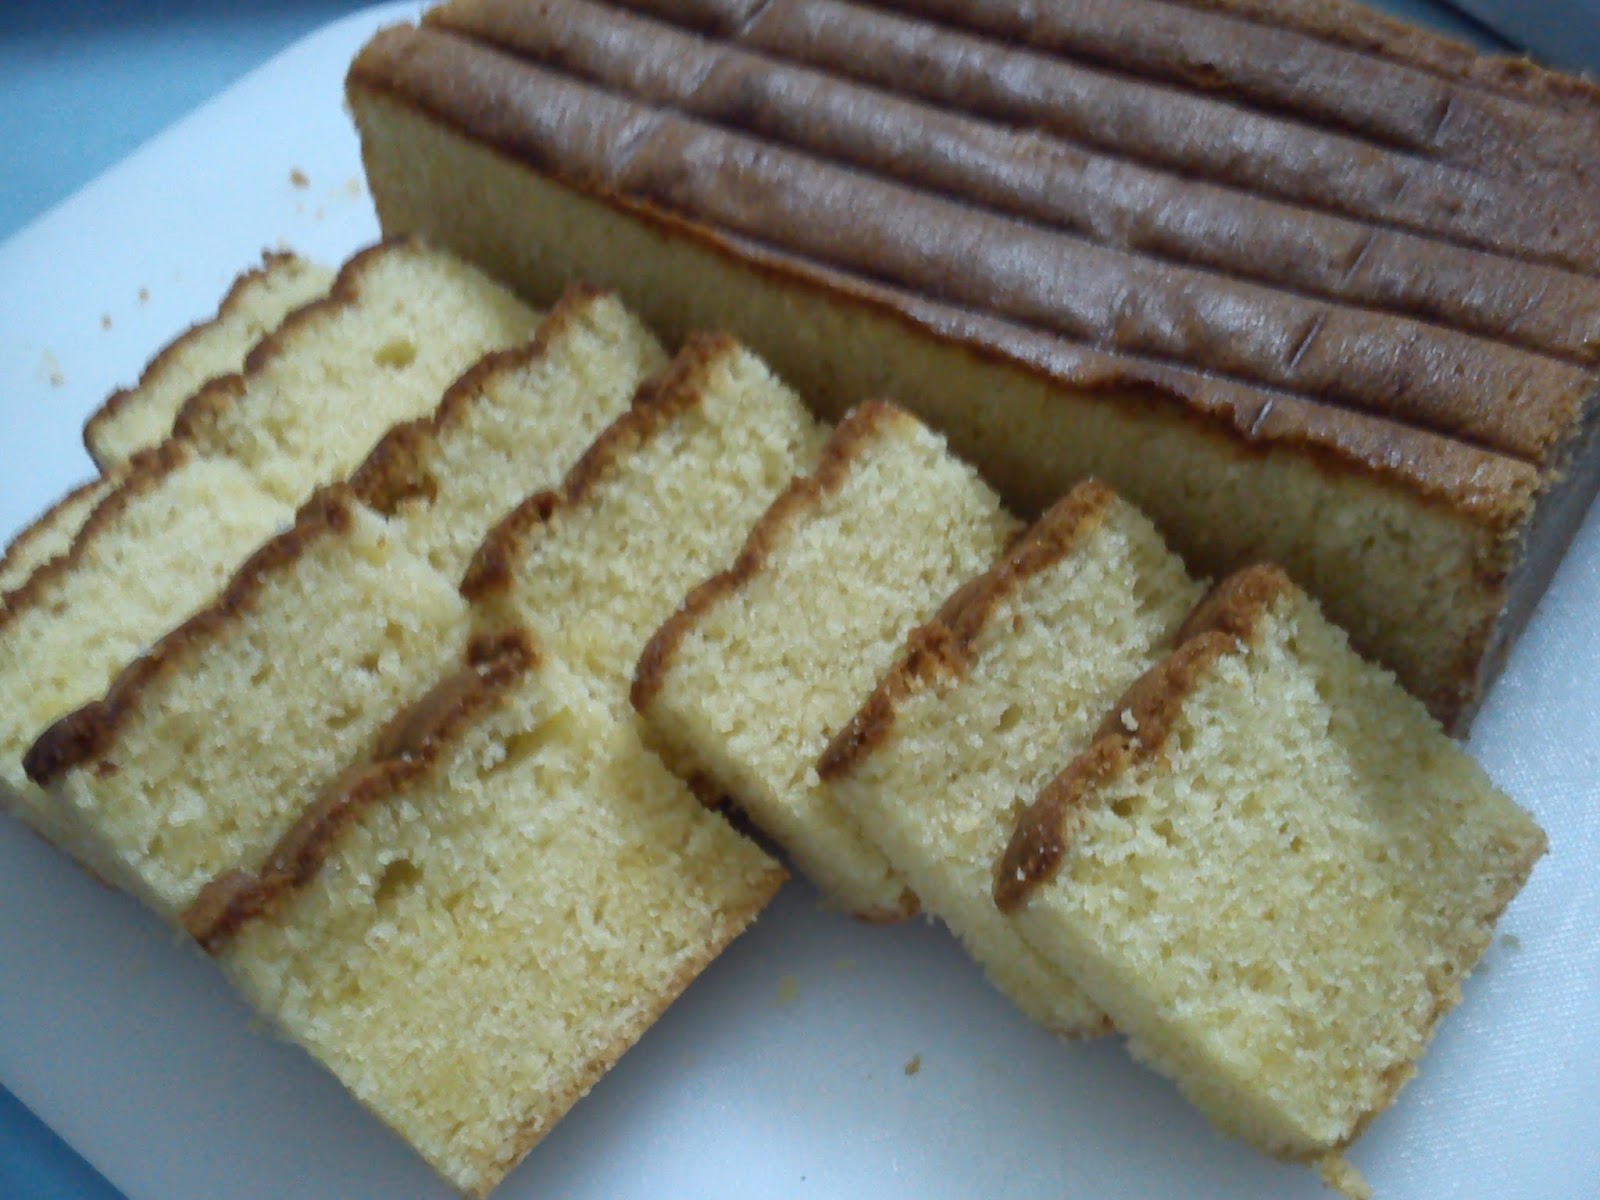
I baked mine in a 8" round pan and I found it too short, so I made another and after stacking them up, I got a 8" tall cake.

Hummingbird Cake
Adapted from Lovely Butter Cakes by Amy Wong & K.S.Lee

Ingredients
200 g Self Raising Flour
1/8 tsp baking soda
1/8 tsp salt
1/4 tsp ground cinnamon
(combine & sieve the above ingredients)

80 g sugar (I added)
120 ml corn oil
2 eggs (lightly beaten)
250 g ripe banana (mashed) - I used "pisang berangan"
200g canned pineapple (discard juice and cut into small cubes, then squeezze)
1 tsp vanilla essence (I added)

100 g walnuts (chopped & roasted) - original recipe used pecans
(toss the nuts with 1 tbs of flour)

Method
Grease and line the bottom of 2 x 8" square pans.  (I would recommend 7" or 6").
Preheat oven to 170 degree C.
Combine the sugar and eggs and whisk together.
Add the oil and whisk till combine.
Then add the mashed bananas and pineapples, followed by vanilla essence.
Add the dry ingredients into the egg mixture and fold together.
Finally fold in the nuts.
Divide the batter equally into the pans and bake for 25 - 30 mins or until a toothpick inserted comes out clean.
Let the cakes cool on wire rack then frost.

Cream Cheese Frosting
Adapted from Jamie Oliver

Ingredients
400 g icing sugar (sifted)
150 g butter
250 g cream cheese (cold) - original 200 g
some rind of lemon/ lime

Method
Cream the butter and icing sugar till creamy. Add the cream cheese and lemon rind.  Beat until smooth.  Keep in the fridge until ready to use.

To assemble the cake, place a cake on a serving plate. Spread some cream cheese frosting evenly. Top with another cake and cover the cake with the rest of the frosting. Decorate as desire.


Sunday 1 March 2015

HUP TOH SOH aka CHINESE WALNUT BISCUITS


I so love these wonderful chinese walnut cookies aka hup toh soh.....I prefer them over the traditional peanut cookies. They tastes better after a few days in the cookie jar.

Recipe adapted from Ann Low

Ingredients:
150g Margarine
250g Self-raising flour
50g Caster sugar (original 80g)
100g Walnuts, roasted and coarsely grind (original 80g)
1 Egg beaten + a pinch of salt for glazing


Method:

  1. Sift the self-raising flour into a mixing bowl.
  2. Cut in the margarine, add in the sugar and the chopped walnuts. Using a rubber spatula to blend the mixture. Then mix thoroughly till the dough does not stick onto the hands.
  3. Pinch off some dough and lightly form into a ball, make a small dent in the centre. Place the biscuits onto a baking sheet, leaving some room between each biscuit.
  4. Brush them with beaten egg. Bake in preheated oven at 180 deg C for about 30 - 35 minutes till golden brown.
  5. Cool completely before storing in cookie jar.

Wednesday 18 February 2015

BUZY BUZY WEEK BEFORE CNY.....

 These little sheep cookies are so popular this CNY.......so many mommies are baking them. Infact I wanted to bake German cookies for months (pstt......the potato starch has been sitting in my cabinet for almost 3 monts already).

Sheep German Cookies
Source of recipe: Fion of XuanHom's Mom Kitchen Diary
Yield: Approximately 68 pieces

Ingredients:
250 g butter
70 g icing sugar
250 g potato starch
170 g all purpose flour
some black sesame seeds, chocolate chips and sugar decorations

Method:

  1. Cream butter and icing sugar till fluffy with a big wooden spoon.
  2. Add in the flour and mix well (the dough is very soft and sticky). Wrap the dough with cling wrap and refrigerate for approximately 15 mins for easy handling.
  3. Divide the dough into 10 g ball each and arrange on baking tray.
  4. Decorate and bake at 160 degree for 25 - 30 mins.
  5. Cool and store in air-tight container.

Happy baking!


FONDANT LEGO STAR WARS Theme Birthday cake for 4 year old Johan.
I received very short notice for this cake and I was amazed that I managed to complete the figurines and the cake between baking the sheep cookies.............and quite happy with the end result.


Tuesday 3 February 2015

HELLO KITTY PINEAPPLE JAM TARTS AGAIN


This time I added more details....don't they look great!!


All beautifully packed
Hurry get out your baking utensils and start making some for your family and friends.  You can find the recipe here.

Friday 30 January 2015

HELLO KITTY PINEAPPLE JAM TARTS

Wow...................I've been absent too long!!!
Chinese New Year is just round the corner.  This year, I'm not selling any cookies, so am sharing my pineapple jam tarts recipe in case you would like to bake some for your family and friends.


They will look great if I had added red bows and also pink nose.

HELLO KITTY PINEAPPLE JAM TARTS

Ingredients:
220 g butter
30 g icing sugar (sifted)
1 egg size B (I used grade A yolk + half the egg white)
1 tsp vanilla essence
300 g flour
40 g milk powder
20 g custard powder

Adequate pineapple jam (approximately 260g) - make into 42 - 6 g balls. 
Pineapple jam recipe.

Method:
  1. Sift all the dry ingredients and mix well. Set aside.
  2. Cream butter and icing sugar.
  3. Add in the egg and essence, mix well.
  4. Finally, add all the dry ingredients and mix till combine.
  5. Gently knead till the dough form a ball and does not stick to fingers.
  6. Divide dough into 42 - 15 g balls. Reserve some dough for the eyes.
  7. Take a ball of dough and flatten it, put a pineapple jam ball in the middle and wrap it.
  8. Gently roll into a smooth ball.  Place into the cookie cutter. Push the dough in with its' embosser.
  9. Remove carefully and place on baking tray. Repeat till all dough is used up.
  10. Bake at 150 degree for 20 - 25 mins or till slightly brown.
  11. Remove from oven and cool completely before storing in air-tight containers.
**Remember to lightly dust the cutter and embosser with flour.


To make the "Hello Kitty's" eyes, nose and bow with dough:
  • For the eyes, mix some bamboo charcoal powder with a small ball of dough.  Knead till well combine.  Make into tiny balls and insert into the eyes.
  • For the nose, color a small ball of dough pink.  Roll into tiny balls and insert into the nose.
  • For the bow, color a small amount of dough red.  Roll out to 1/4" thick. Cut 2 small heart shape and place on the head. Place a tiny ball in the centre and flatten it slightly. Or buy some heart shaped sugar decoration and place on the head with some egg white as glue.
OR decorate with chocolate.  The doggies would look great with brown ears!!!

Be creative...........they can be in the shape of sheep, bears, pineapples, tangerine & etc....

Please share your creations with me!!

My "sunflower" pineapple jam tarts.


Happy baking and Happy Chinese New Year!!


PINEAPPLE JAM


I have not baked pineapple jam tarts for ages, just because I don't like to make the jam. When I found ready made jam at the cake ingredients shop, I immediately grabed a pack and made my favourite "sunflower" pineapple jam tarts. Last year, I baked for sale in the shape of bunnies. They were super cute. And the latest is Hello Kitty & Doggy.


Here's the recipe for pineapple jam for those who would like to make from scratch or can't find ready made jam.

Ingredients:
2 cups of grated pineapple (drain the juice but don't squeeze)
1 - 1 1/2 cups sugar
1 small piece of cinnamon stick (you may add more depending on taste bud)
a few star anise and cloves (optional)
Juice from 1 lemon

Method:
Put the grated pineapple, pineapple juice, lemon juice, cinnamon and star anise into a big pot. Bring to a boil at medium heat until most of liquid has reduced. Stir constantly to avoid burning.
Reduce heat and add the sugar. Cook till thickened and sticky.
Cool completely before use.

Now, for those who can't find fresh pineapple......or do not want to peel the pineapples.

2 cans (410 g) pineapple cubes
100 g castor sugar
1 small piece of cinnamon stick.